|
Jab:
Zelda does a quick jab that hits 3 times with magic. This move is great for catching approaches or to follow up after a down tilt. Jab is one of Zelda's few attacks that is safe to throw out without fear of end lag. It deals 2% damage per hit and 6% total. Jab's hit box is disjointed, making this a fairly safe attack overall. Jab can also be used as an approach option by taking advantage of Zelda's pivot slide to use jab while sliding forwards. |
|
Frame Data:
Frame 11-11: [2%]x2 100f/40w 361° Magic Frame 11-11: [2%]x2 100f/30w 361° Magic Frame 11-11: [2%]x2 100f/7w 80° Magic Frame 15-15: 2% 24b/150g 361° Magic Max Damage: 6% |
|
Dash Attack:
Zelda pushes the opponent back with both hands. Sweet spot deals 12% damage and sour spot 6%. This move can kill at high percents which is rather good for a dash attack, but it's easy to read since it's one of Zelda's only approach option other than grab/nair. Careful about how you use this move if you decide to approach with it since it is easy to punish when shielded. |
|
Frame Data:
Frame 6- 7: 12% 85b/70g (KO@ 147%) 50° 1.2-Hitlag Magic Frame 6- 7: 9% 80b/50g (KO@ 289%) 50° Magic Frame 8-10: 6% 80b/50g (KO@ 404%) 50° Magic Max Damage: 12% |
|
Up Tilt:
Zelda performs a circular motion with her arm above her head. This move lost all the kill power it had in Brawl in exchange for combo potential. At low percents this move will combo into itself for easy damage. Up tilt is one of your main answers to punishing aerial approaches. It has low ending lag and deals 7% damage a hit. |
|
Frame Data:
Frame 7-18: 7.2% 45b/110g (KO@ 202%) 100° Magic Max Damage: 7.2% |
|
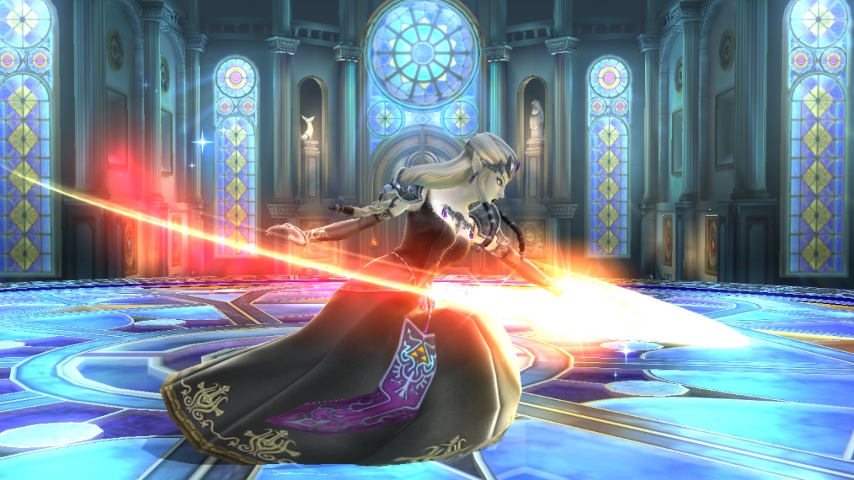
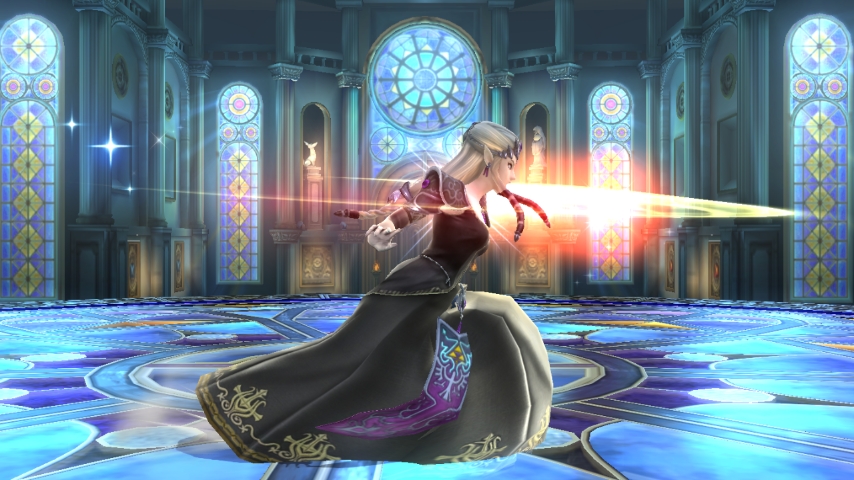
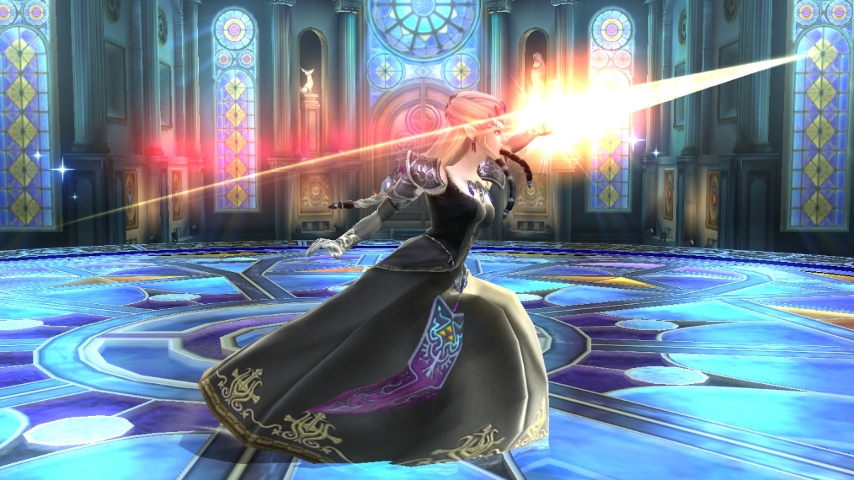
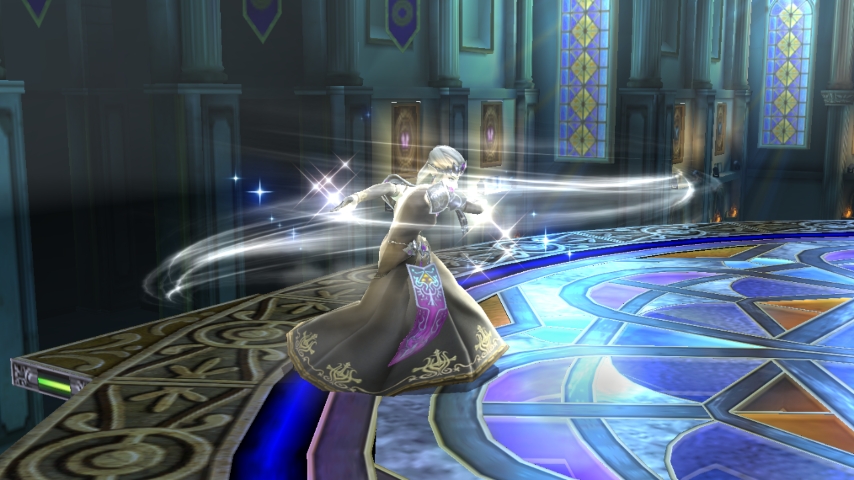
Forward Tilt:
Zelda does a magic slash with her arm in front of her. This attack can be tilted up or down but the launch direction remains the same. 10% damage on sour spot (Zelda's arm) and 12% on sweet spot (Zelda's hand/magic trail). This is one of your lesser used moves due to its ending lag. It can kill at higher percents and has a good knock back angle to set up Dair spikes offstage. Pivot forward tilt is good for spacing and will be where this move sees most of its usage. |
|
Frame Data:
Frame 12-13: 12% 50b/88g (KO@ 137%) 361° Slash Frame 12-13: 10% 50b/88g (KO@ 164%) 361° Slash Max Damage: 12% |
Forward Tilt Angles:
|
|
|
|
Down Tilt:
Zelda crouches and kicks in front of her. Very low end lag and pops opponents into the air at higher percents. This is easily one of Zelda's best moves to set up combos regardless of you opponents percent. Down Tilt is also a good anti-approach option. Learn to love this move because you will be using it a lot! Does 4.5% damage a hit. |
|
Frame Data:
Frame 5-11: 4.5% 20b/120g (KO@ 312%) 80° 0.2-Trip Max Damage: 4.5% |

|
Neutral Air:
Zelda spins in the air to hit anyone around her. Deals 11% damage if all 5 hits connect (2%,2%,2%,2%,3%). This is your only combo aerial but it is a good one. Neutral Air can extend a lot of different options so make sure you use this move when you get the chance. It also auto-cancels with regular short hops but not on fast-fall short hops. |
|
Frame Data:
Frame 6- 7: [2%]x4 100f/75w 366° 0.0-SDI Frame 6- 7: [1%]x4 100f/75w 366° 0.0-SDI Frame 22-23: 3% 40b/160g (KO@ 235%) 361° 0.0-SDI Frame 22-23: 3% 40b/140g (KO@ 270%) 361° 0.0-SDI Max Damage: 11% Enables transition to Nair landing state (landing lag) on real frame 4 Cancels transition to Nair landing state (landing lag) on real frame 38 |
|
Up Air:
Zelda points her finger like a gun and shoots a ball of fire above her head. The main use you will see for this move is Down Throw/Down Tilt → Up Air for kills. The radius and damage was slightly lowered from Brawl but this is still a good option to land kills with due to the disjointed hit box. Up air is Zelda's main form of Vertical kills other than Farore's elevator. It deals 15% damage and has punishable end lag. |
|
Frame Data:
Frame 14-16: 15% 30b/90g (KO@ 136%) 90° Fire Max Damage: 15% Enables transition to Uair landing state (landing lag) on real frame 5 Cancels transition to Uair landing state (landing lag) on real frame 56 |
|
Forward/Back Air:
Zelda delivers a devastating forwards/backwards kick (unless you sour spot, then its not very scary). High knock back on this move with early kill potential. Deals 20% damage on sweet spot and 4% sour spot with punishable end lag. Down tilt → Fair is very effective at high percents to land kills. |
Forward Air and Back Air:
|
Frame Data:
Fair: Frame 9- 9: 20% 24b/95g (KO@ 85%) 361° 1.5-Hitlag Frame 9-13: 4% 5b/96g (KO@ 426%) 361° Frame 9-13: 4% 5b/80g (KO@ 513%) 361° Max Damage: 20% Enables transition to landing state (landing lag) on frame 4 Cancels transition to landing state (landing lag) on frame 50 Bair: Frame 6- 6: 20% 28b/96g (KO@ 81%) 361° 1.5-Hitlag Frame 6- 9: 4% 5b/96g (KO@ 426%) 361° Frame 6- 9: 4% 5b/80g (KO@ 513%) 361° Max Damage: 20% Enables transition to landing state (landing lag) on frame 3 Cancels transition to landing state (landing lag) on frame 52 |

|
Down Air:
Zelda delivers a devastating downwards kick. Deals 16% damage on sweet spot and 5% sour spot. This attack will meteor on sweet spots and can also gimp on sour spots by foot stooling directly after. This is your bread and butter for offstage pressure since it can lead to super early kills. Dair has punishable end lag but well worth the trade off. You should honestly go for this every time someone is offstage. |
|
Frame Data:
Frame 14-14: 16% 30b/65g (KO@ 241%) 270° Magic Frame 15-24: 5% 5b/90g (KO@ 528%) 275° Frame 15-24: 4% 0b/70g (KO@ 814%) 275° Max Damage: 16% Enables transition to landing state (landing lag) on frame 4 Cancels transition to landing state (landing lag) on frame 40 |
|
Up Throw:
Zelda throws the opponent above her head dealing 11% damage. Only use this throw for early % combos into up tilt since your other throws are better otherwise. At high percents you can get a Farore's Wind kill out of this throw. |
|
Frame Data:
Frame 1- 2: 11% 50b/60g (KO@ 249%) 88° Max Damage: 11% |
|
Side Throw:
Zelda throws the opponent forwards/backwards. Use this throw to get opponents offstage. Back throw can kill at high percents but it's not reliable until 140%+. deals 12% damage forwards and 11% backwards. Switch to this throw at higher percents since you can set up kills much easier offstage. |
|
Frame Data:
F-throw: Frame 1- 2: 12% 70b/50g (KO@ 225%) 45° Max Damage: 12% B-throw: Frame 1- 2: 11% 80b/60g (KO@ 183%) 45° Max Damage: 11% |
|
Down Throw:
Zelda pins the opponent into the ground and attacks them 5 times with magic then they are launched into the air. Deals 6% damage total (1%,1%,1%,1%,2%). This throw is the weakest overall but it is your bread and butter for combo potential. Use this throw every time you need to rack up damage. Down throw to Uair, Bair, and Farore's Wind are notable kill options at high percents. |
|
Frame Data:
Frame 1-24: 2% 85b/55g (KO@ 705%) 100° Frame 25-26: [1%]x4 100f/25w 40° 0.5-Hitlag Magic Max Damage: 6% |
|
Up Smash:
Zelda waves her hand above her head to attack multiple times with magic. This move deals 16% damage uncharged in front of Zelda and 14% damage behind her if all hits connect. 21% in front and 18% behind at full charge. Up smash range was reduced slightly from Brawl and has punishable end lag. Opponents can occasionally fall out of this move making it less reliable. This is one of your rarely used kill options. |
|
Frame Data:
Frame 9- 9: [2%]x4 105f/60w 200° 0.5-Hitlag Magic Frame 9- 9: [2%]x4 105f/50w 366° 0.5-Hitlag Magic Frame 9- 9: [2%]x4 105f/40w 90° 0.5-Hitlag Magic Frame 25-25: [0.8%]x3 100f/60w 200° Magic Frame 25-25: [0.8%]x3 100f/50w 366° Magic Frame 25-25: [0.8%]x3 100f/40w 90° Magic Frame 34-34: 5% 24b/190g (KO@ 163%) 88° 2.0-Hitlag Max Damage: 15.4% Smash charge window on real frame 4 |
|
Side Smash:
Zelda thrust her hands forward and attacks multiple times with magic. This move deals 17 damage uncharged if all hits connect and 23.5% full charge. Opponents caught in the air will occasionally fall out of this move if you use it at the wrong time. One of your main uses for this move is to punish a predicted roll or pivot smashes for spacing. Has punishable end lag. |
|
Frame Data:
Frame 16-16: [1%]x4 100f/80w 160° Frame 16-16: [1%]x4 100f/60w 60° Frame 24-24: 13% 37b/110g (KO@ 105%) 361° Magic Max Damage: 17% Smash charge window on real frame 11 |
|
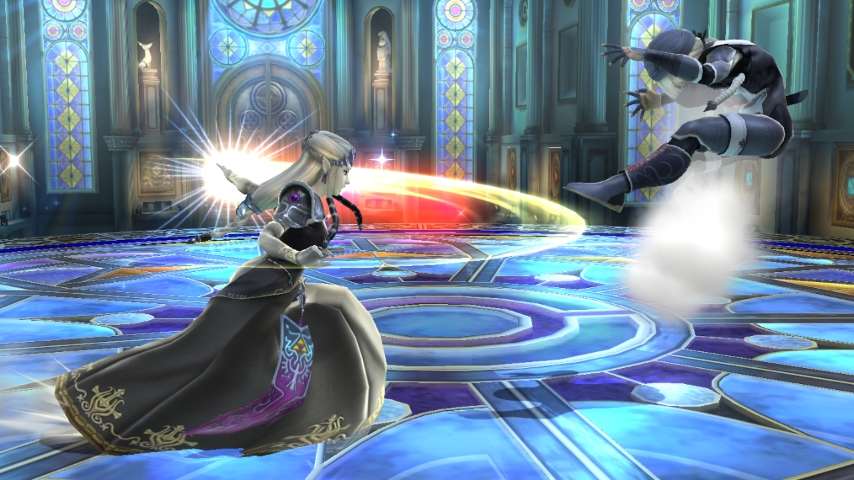
Down Smash:
Zelda sticks her foot out and spins around hitting anyone near her. This is your main answer to roll happy opponents along with Nayru's Love. Deals 12.4% damage uncharged in front of Zelda and 10.4% behind her or 16.5% damage full charge in front and 14.5% behind. This is Zelda's fastest smash attack and it can also be used as an approach by using a pivot slide to increase your down smash range. |
|
Frame Data:
Frame 5- 6: 12% 20b/86g (KO@ 154%) 20° 0.2-Trip Frame 5- 6: 12% 20b/86g (KO@ 176%) 361° 0.2-Trip Frame 13-14: 10% 20b/96g (KO@ 151%) 20° 0.2-Trip Frame 13-14: 10% 20b/96g (KO@ 174%) 361° 0.2-Trip Max Damage: 22% Smash charge window on real frame 2 |
|
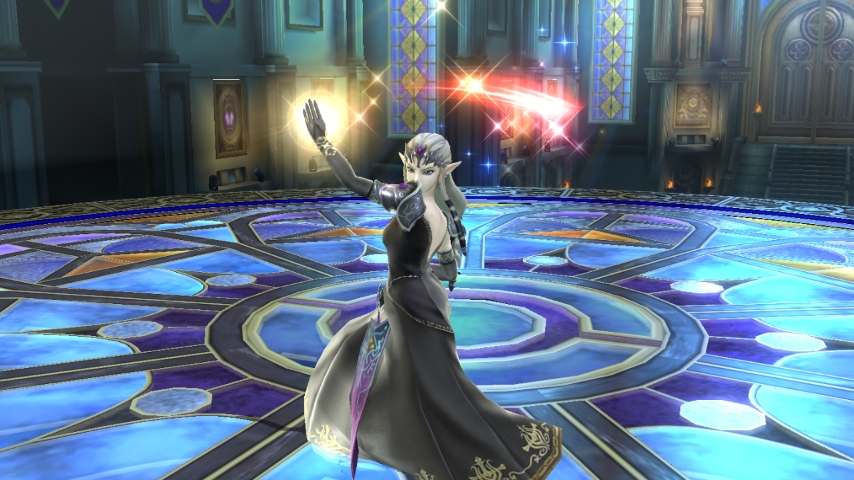
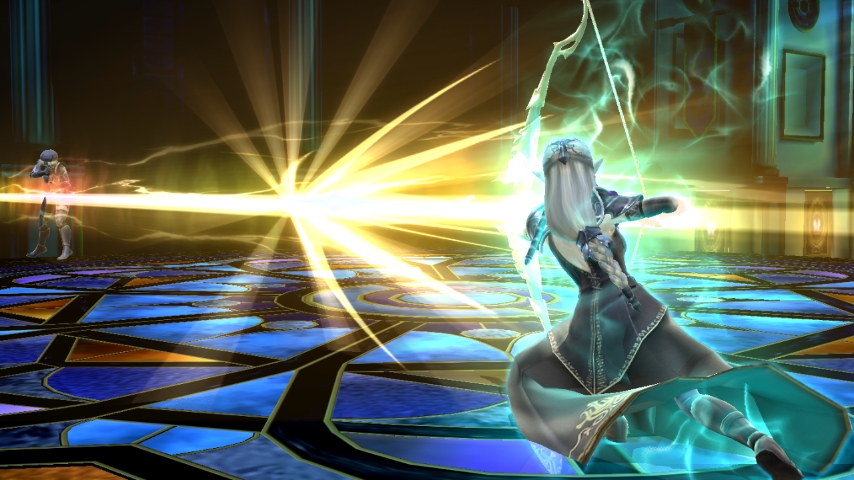
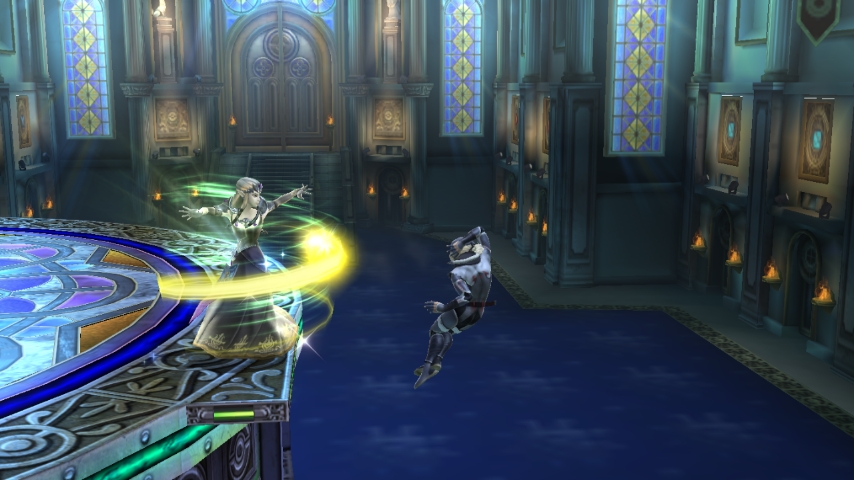
Light Arrow: Final Smash
Zelda summons a bow and shoots a piercing arrow of light across the stage. Anyone caught by the hit will take 1% damage and will freeze in a quick pause animation before taking another 39% damage with extreme knock back. This move will kill at very early percents but it's only available when you break the Smash Ball item. Frame Data: Frame 33-39: 1% 100f/80w 80° Stun Unblockable Frame 50-51: 39% 50b/100g (KO@ 4%) 361° Max Damage: 40% Article generated on real frame 1 |
|
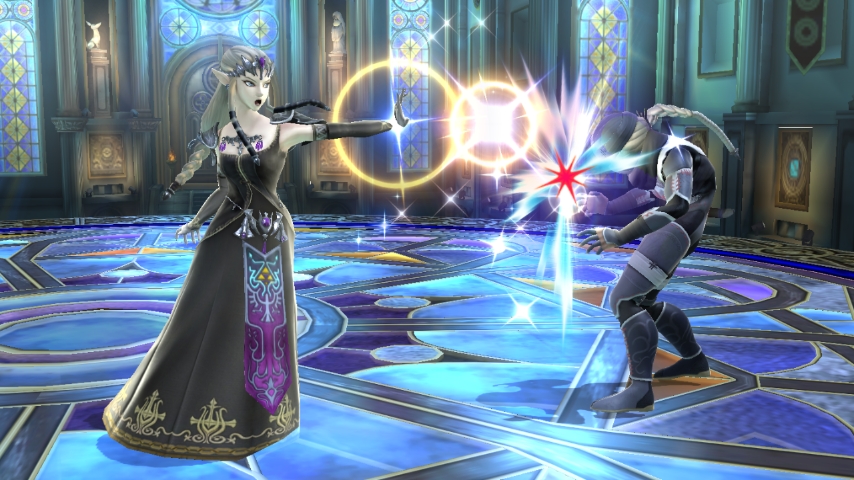
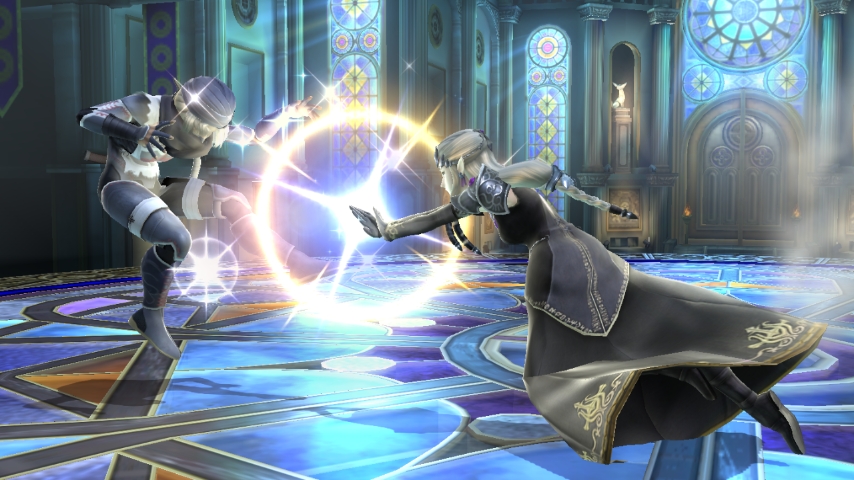
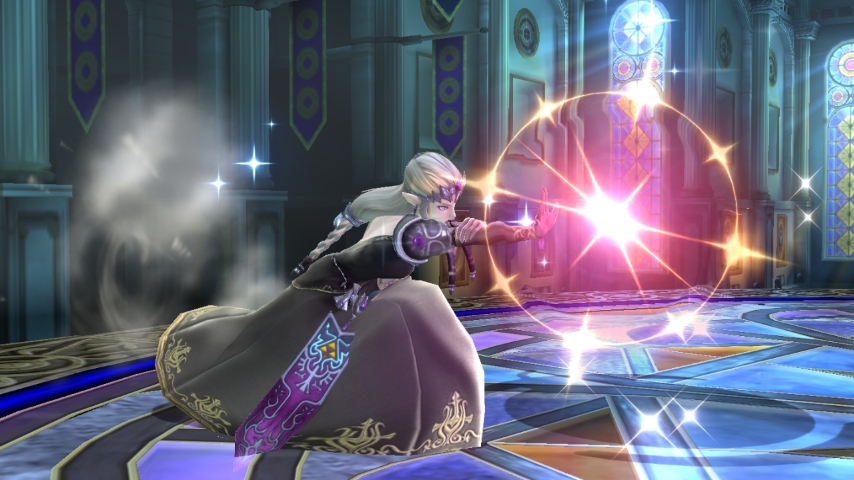
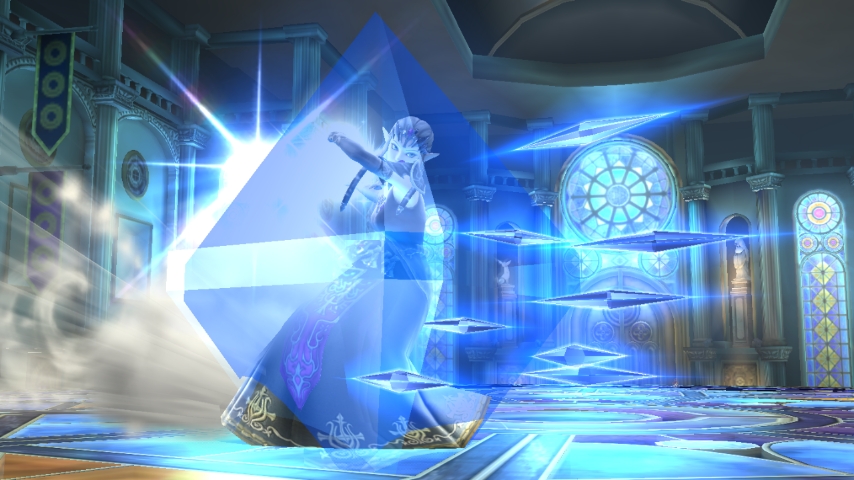
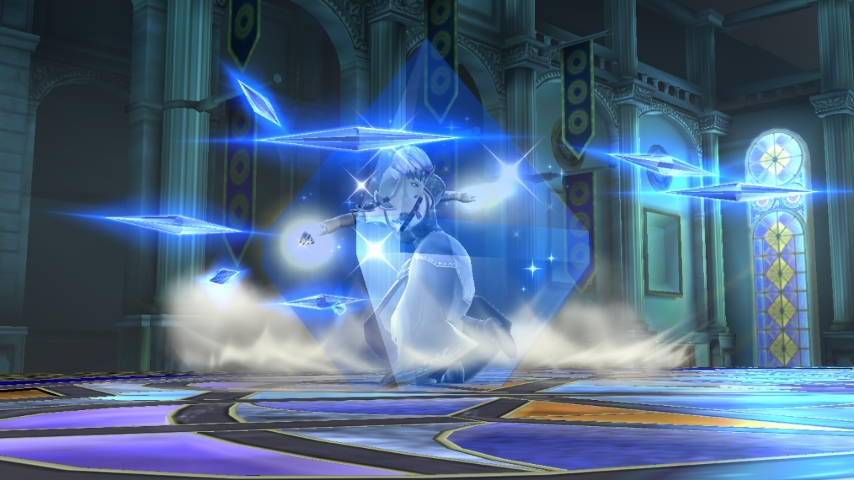
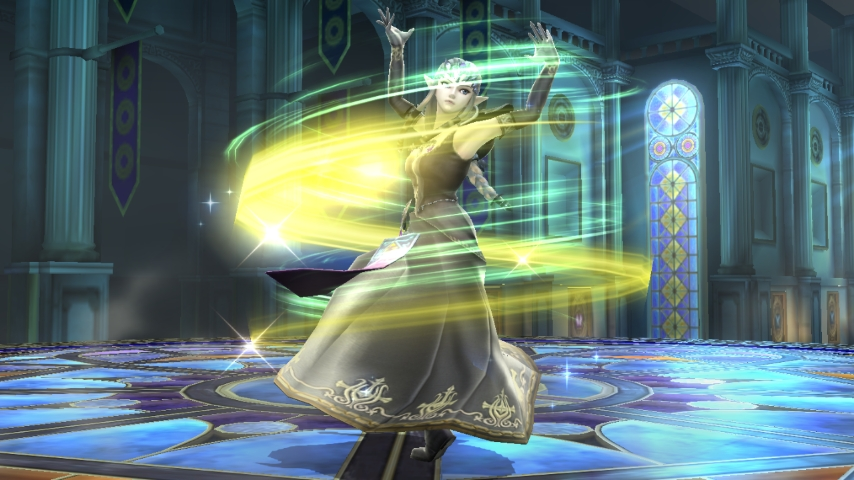
Nayru's Love: Default
Zelda surrounds herself in a blue crystal and smaller crystals circle around her to deal damage to anyone in range. Nayru's Love also reflects projectiles at 1.2x the power and speed while granting a short duration of intangibility on start up. This is a good move to catch rolls and approaches with since it has a lingering hitbox and covers both sides of Zelda. This move can be used to shift momentum after being launched by using a technique known as Love Jumping. Although it was weakened from Brawl, Love Jumps still have some uses such as escaping combos by shifting your momentum away from the opponent. You can also use Love Jumping as a recovery option to slide back to the stage. Nayru's Love hits 4 times for 11% total (2%,2%,2%,5%). Frame Data:
Frame 13-24: [2%]x3 12b/40g 160° Slash Frame 13-24: [1%]x3 12b/40g 160° Slash Ground-Target-Only Frame 28-28: 5% 50b/100g (KO@ 251%) 361° Slash Frame 28-28: 4% 40b/100g (KO@ 320%) 361° Slash Max Damage: 11% |
|
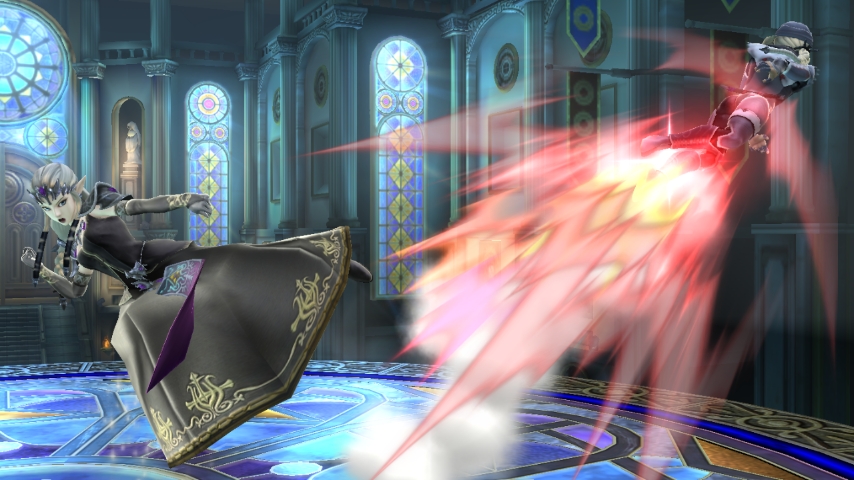
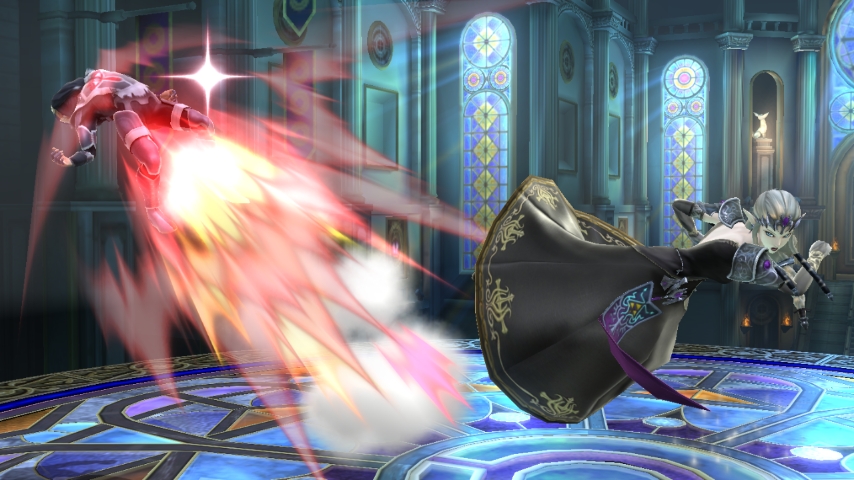
Nayru's Rejection: Custom 2
This move acts similar to the default Nayru's Love except the outer diamonds are replaced with a gust of wind that has a spin effect similar to Mario's cape.Anyone hit by this move will be flipped into the other direction. This can be useful offstage to cause people to recover in the wrong direction. Nayru's Rejection reflects projectiles at 1.2x the power and speed while granting a short duration of intangibility. Like Nayru's Love, Love Jumping is still possible with this custom equipped. Tradeoffs: Nayru's Rejection is very similar to Nayru's Love overall. This move is slightly slower with decreased range and deals less damage, but the outer diamonds are replaced with a cape effect that turns opponents in the opposite direction. The knock back from Nayru's Love is also replaced with a weak push effect. The main advantage of this move compared to Nayru's Love is the ability to combo into grabs while stopping approaches. Frame Data: Frame 18-25: [1%]x2 12b/40g 160° Slash Frame 26-26: 5%(+4) 0b/0g 110° 0.3-Trip Cape Frame 27-31: [0%(+4)]x2 100f/40w 361° 0.0-Hitlag Max Damage: 7% |
|

|
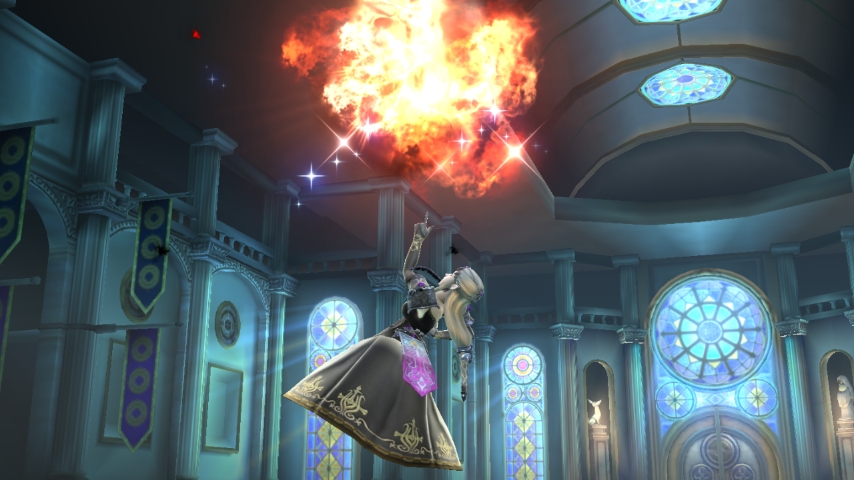
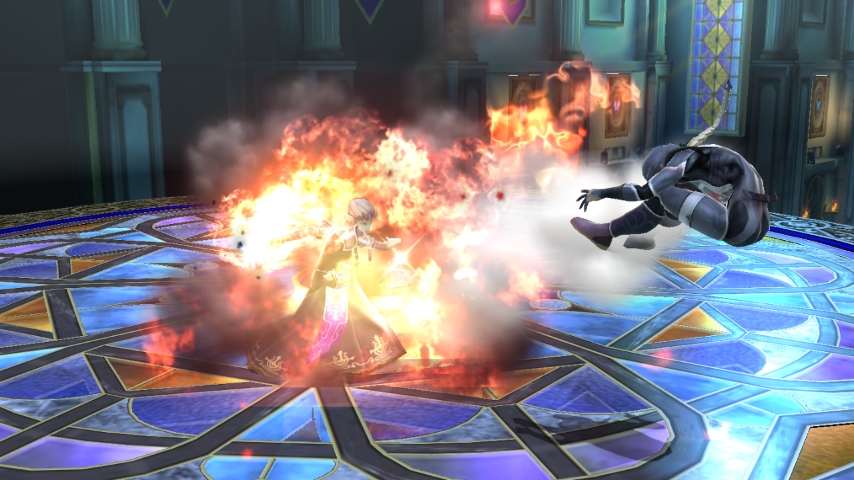
Nayru's Passion: Custom 3
This custom loses the ability to reflect projectiles and the intangibility, but turns into a raw damage move. The diamonds from Nayru's Love are replaced by a strong vacuum that draws opponents towards Zelda then creates an explosion to damage them after. Nayru's Passion is a single hit move that deals 15% damage. This attack has a great draw in distance and works well with B-reversing for mix-ups. The draw in range is also great for punishing rolls since it covers both sides of Zelda. Like Nayru's Love, Love Jumping is still possible with this custom equipped. Tradeoffs: This move sacrifices the defensive ability to reflect projectiles in exchange for an offensive explosion based attack. You also lose the intangibility from Nayru's Love which is replaced with a vacuum around Zelda that draws opponents into the explosion. Nayru's Passion has the longest range out of the 3 Nayru's Love options when factoring in the vacuum effect. Frame Data: Frame 13-24: [0%]x2 100f/40w 367° Frame 27-29: 15% 50b/65g (KO@ 151%) 361° Fire Max Damage: 15% |
|
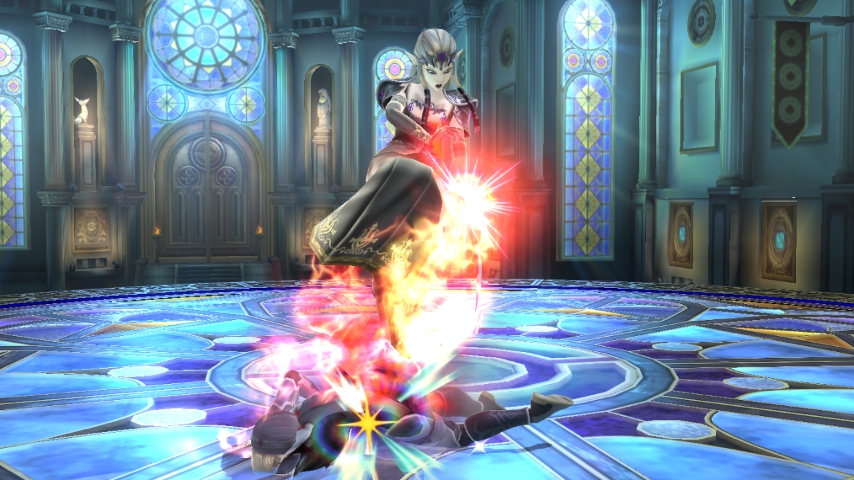
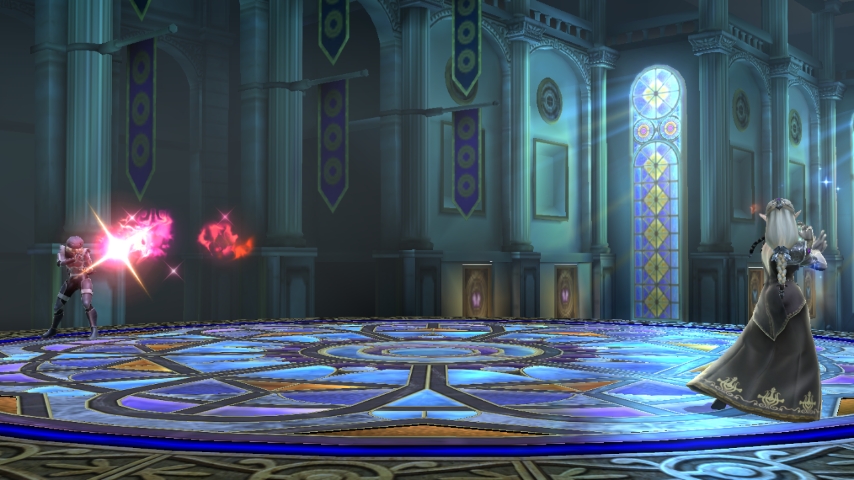
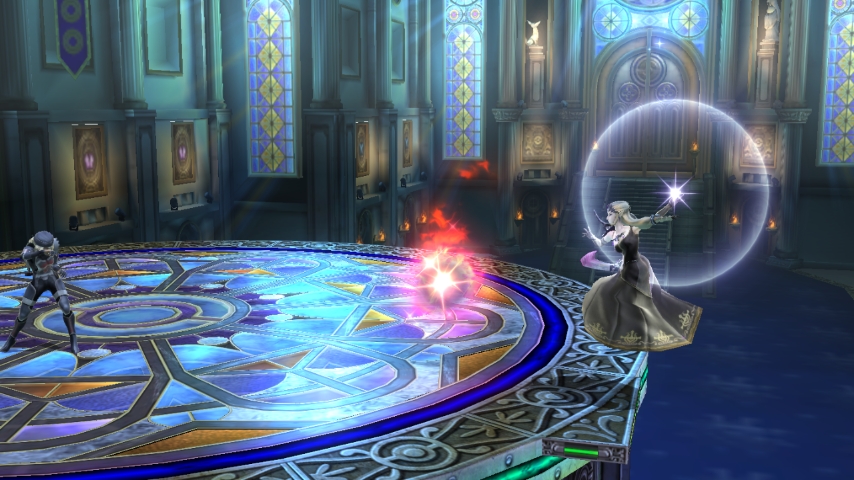
Din's Fire: Default
Zelda channels a controllable ball of fire in front of her. She is unable to move while controlling Din's Fire and will be placed in a helpless state if this move is used in the air. Din's Fire deals more damage the longer it travels and has a sweet spot that can kill. Deals 14% damage on a sweet spot or 6% on sour spot at max distance and 8% damage on sweet spot or 4% damage on sour spot at minimum distance. This move is great for harassing opponents offstage and will be your main opportunity to use Din's Fire safely. You can use Din's Fire to force air dodges into landing traps and this is also your main move to force approaches. Careful about how you use this move because Zelda is easily punished during it. |
|
Din's Flare: Custom 2
A smaller and faster version of the default with extended range. The explosion is instant and the damage is no longer dependent on distance, but it can't be aimed vertically (It can, just an extremely small amount). Deals 14% damage on sweet spots and 7% on sour spots. Din's Flare is great against fast characters since it allows you to cover a larger range at a faster rate. This is also a safer option to use since there is less time to be punished for use it. The only bad part about this custom is you lose the vertical movement that is useful for creating landing traps and offstage pressure. Tradeoffs: Din's Flare is the fastest and easiest version of Din's Fire to use. It has the longest reach and the explosion happens instantly. It can reach all the way across FD/Omega stages very quickly. Unlike the default, Din's Flare does consistent damage no matter how far it travels which makes it effective at any distance unlike the other Din options. The trade off for this move is it's a lot faster and has extended range, but it loses the ability to travel vertically. This makes Din's Flare a very basic, but effective attack to use. One thing you will notice immediately when using Din's Flare is that it becomes very hard to punish players offstage with it. |
|
Spacing:
Din's Flare is a great attack at any range since it is quick and has consistent damage. This custom is your main answer to Zelda's issue with fast characters since you can wall them out with a faster and more threatening projectile. They also have a harder time punishing you for using it!
Din's Flare is a great attack at any range since it is quick and has consistent damage. This custom is your main answer to Zelda's issue with fast characters since you can wall them out with a faster and more threatening projectile. They also have a harder time punishing you for using it!
|
Din's Blaze: Custom 3
A slower and more powerful version of the default that gives you a large influence in directional control, but it has a delayed explosion. Deals 16.5% damage on sweet spots and 9% on sour spots. Din's Blaze is great for setting traps when the opponent is high in the air to force air dodges or offstage to punish recoveries. Din's Blaze deals more damage the longer it travels and has a sweet spot that can kill. This version of Din's can be very tricky to use and it's probably the most fun out of her customs to play around with. |
Tradeoffs:
Din's Blaze is the hardest version of Din's Fire to use. The delayed explosion means it is even harder to sweet spot than the default and requires a lot of predicting/reads to use properly. However, the delay and increased control of Din's Blaze is what makes it a great move. The tradeoff for this move is it's the slowest version of Din's Fire and the hardest version to use effectively, but it has devastating power and total control of the movement.
Din's Blaze is the hardest version of Din's Fire to use. The delayed explosion means it is even harder to sweet spot than the default and requires a lot of predicting/reads to use properly. However, the delay and increased control of Din's Blaze is what makes it a great move. The tradeoff for this move is it's the slowest version of Din's Fire and the hardest version to use effectively, but it has devastating power and total control of the movement.
|
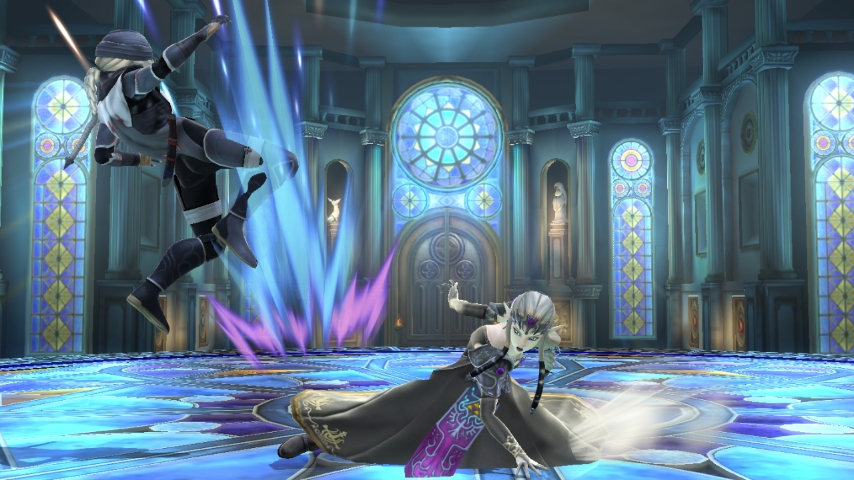
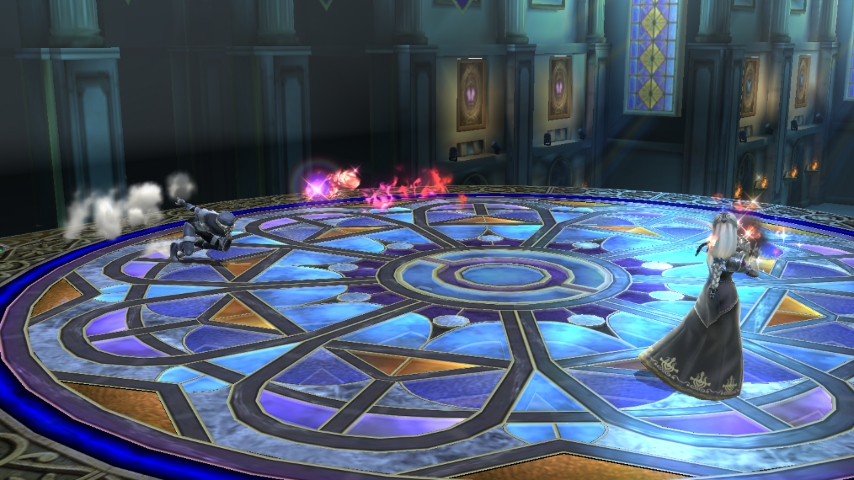
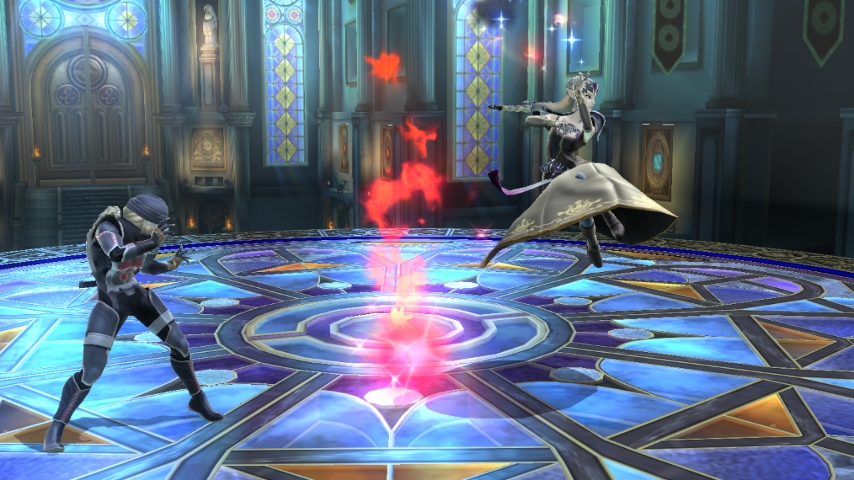
Blaze landing:
You can use Din's Blaze to cover your landings on stage. By placing Din's Blaze directly in front of yourself it protects you and creates a trade situation in most cases if the opponent tries to attack you. For example, If Sheik were to approach Zelda in any way here they would risk taking a sweet spotted Din's Blaze as punishment (A trade that is heavily in Zelda's favor). This custom is great for denying opponents parts of the stage momentarily. Reversed Blaze Landing: Notice how Din's Blaze remains behind Zelda. This protects your back while setting up an attack at the same time. Reversing Din's Blaze has an interesting effect on the move itself also! A regular Din's Blaze will launch opponents away from Zelda while a reversed Din's Blaze will launch opponents towards her. This can lead into some interesting combos such as grabs or devastating aerial kills. |
|
|
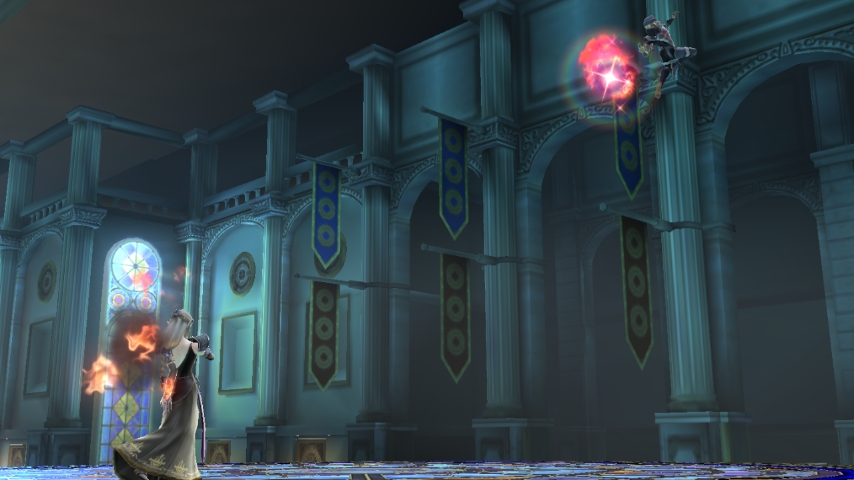
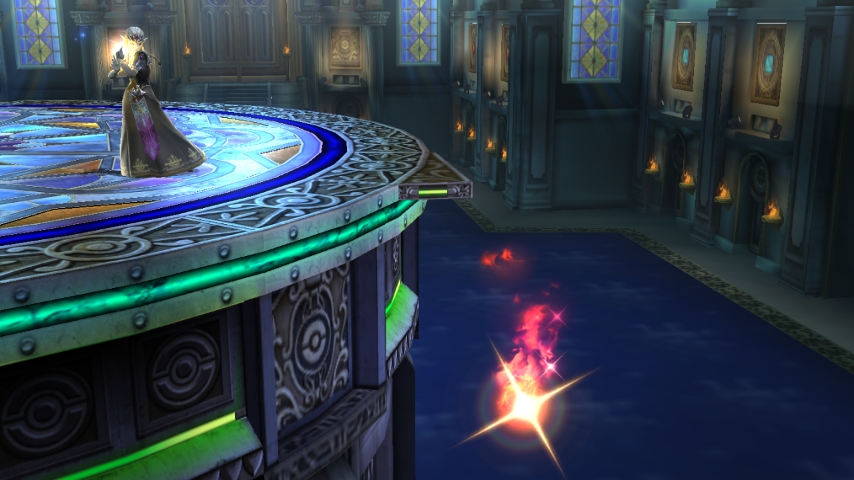
Edge Guarding:
Din's Flare excels at edge guarding! You can set a trap anywhere offstage to catch players trying to get back to the ledge. The lingering effect on this move allows it to supply constant pressure while you get into position to punish an air dodge with a Dair spike if needed. Din's Flare basically allows you to control the opponents recovery. |
Max Range:
Din's Fire Din's Flare Din's Blaze
Din's Fire Din's Flare Din's Blaze
|
|
|
|
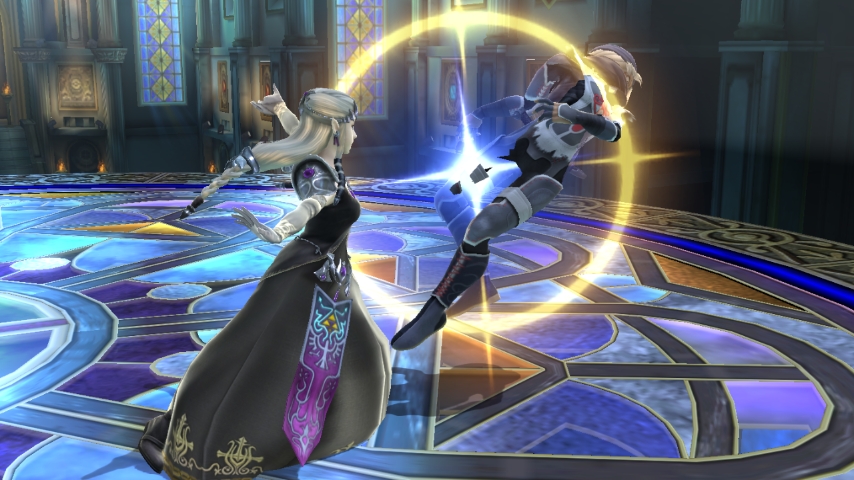
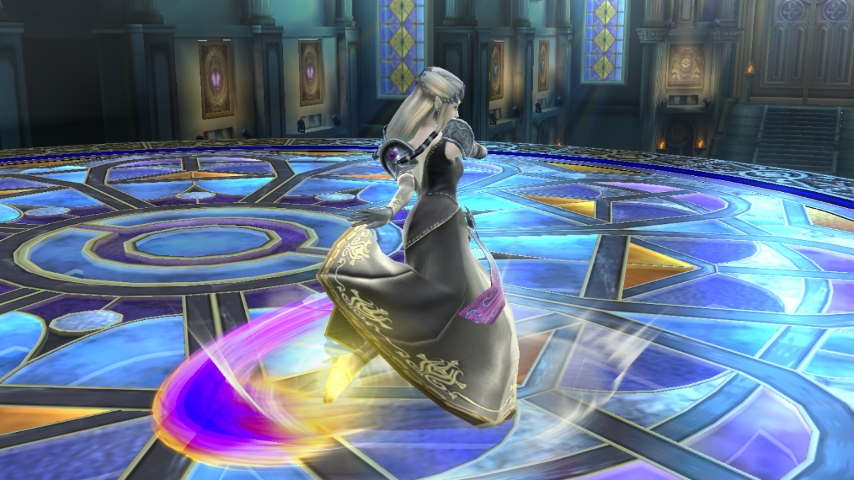
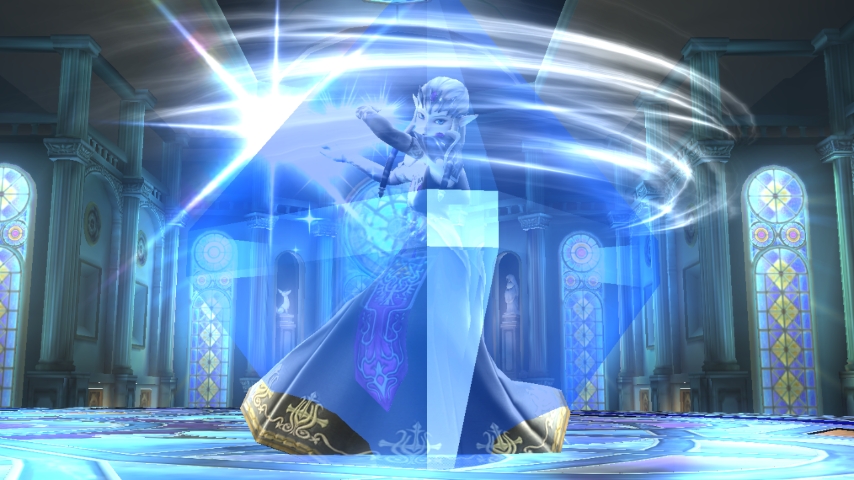
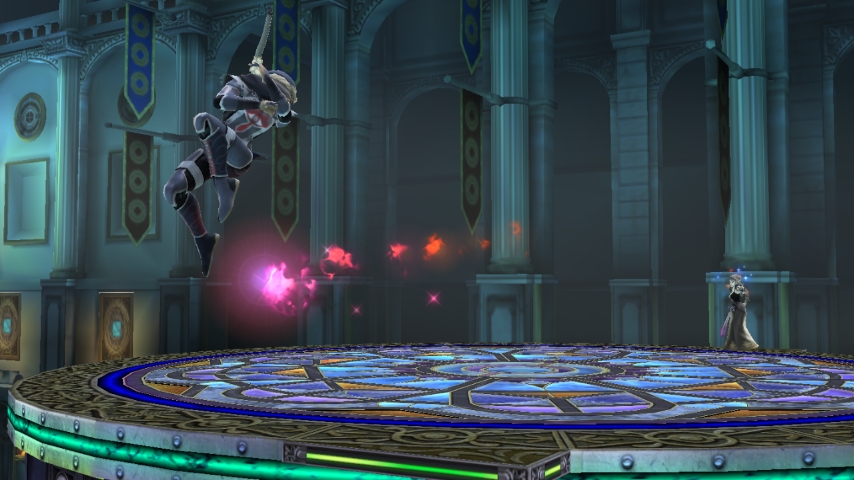
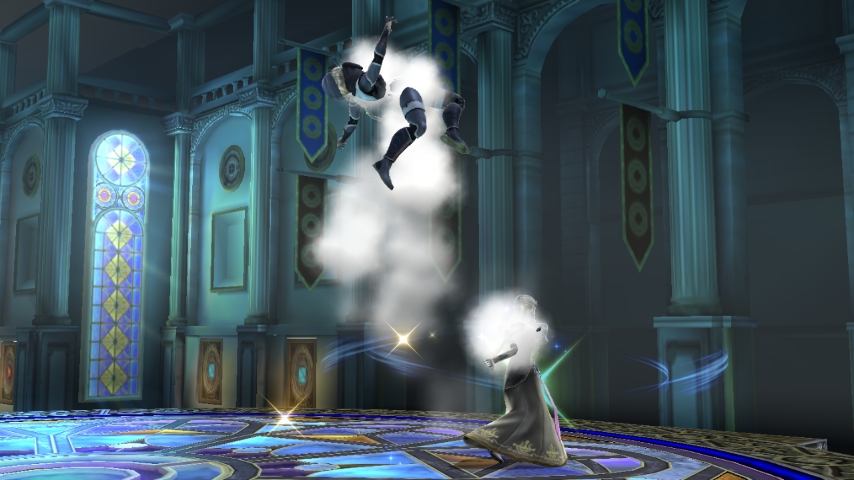
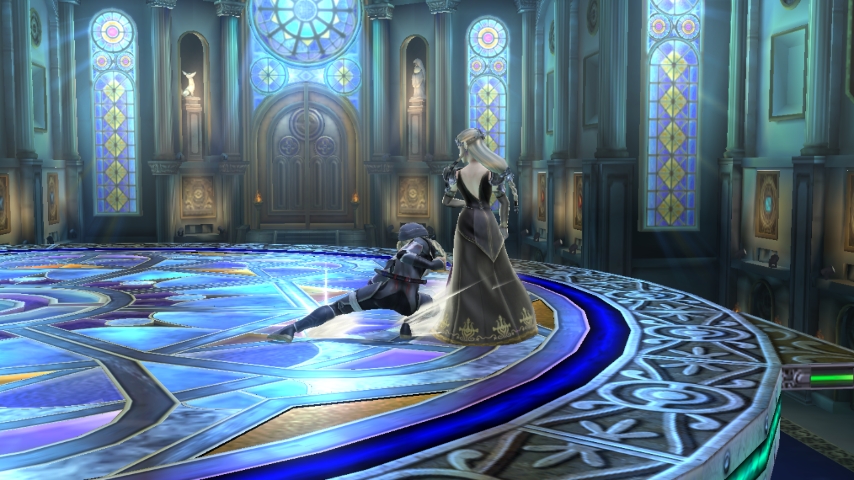
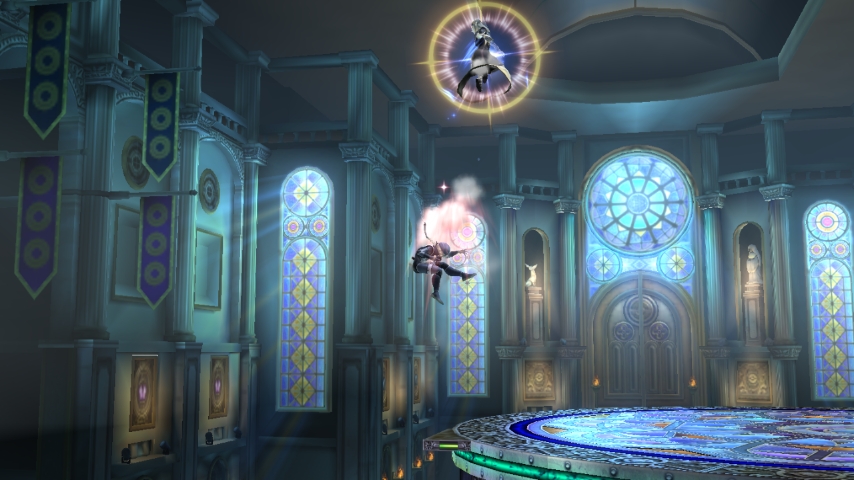
Farore's Wind: Default
Zelda surrounds herself with wind and teleports away. Farore's Wind is a two hit move that combos from start up to finish and it's also a very good option out of shield. The first hit deals 6% damage and the second hit deals either 10% on sweet spots or 7% on sour spots. The direction traveled can be controlled in many different directions and she also becomes invisible and intangible during the teleport portion of this move. The ending hit of Farore's Wind is very strong and capable of killing at very early percents. While in rage, a Farore's Elevator can kill as early as 50-60%! Farore's Wind is also a great move to punish opponents across the stage while bypassing things such as projectiles. |
|
Frame Data:
Farore's Wind (startup): Frame 7- 8: 6% 118b/30g 91° Slash Max Damage: 6% Farore's Wind (reappearance): Frame 1- 3: 10% 90b/90g 361° 1.5-Hitlag Frame 1- 3: 7% 70b/90g 361° 1.2-Hitlag Max Damage: 10% |
Important Notes:
Farore's Wind can travel in multiple directions and can also be shortened on the ground by tilting towards the stage. However, when using Farore's Wind in the air you are forced to go the maximum distance. It's also very important to know that if Farore's Wind comes into contact with walls or platforms it will force the direction of your teleport to change. This can cause you to overshoot your teleport and possibly SD yourself if you are not careful. There is 1 frame before the reappearance to hit Zelda out of Farore's Wind. While this is a very short window for punishment it's still worth mentioning. |
|
Farore's Squall: Custom 2
A non-damaging version of the default that pushes/pulls opponents with a wind box and throws them into the air on the second hit. During the teleport Zelda becomes a golden ball of light cloaked in wind that pulls anything she passes through with her. This may seem like a useless custom compared to the default but it can have some interesting results when used in teams. Farore's Squall can be used right behind your partner while they are charging an attack to push them towards the opponents team. Farore's Squall can also be used to aid your partner's recovery offstage. For example: Little Mac is very gimpable offstage but Zelda can easily carry him back on stage with Farore's Squall. Tradeoffs: Farore's Squall sacrifices the destructive power of Farore's Wind. In exchange, this custom grants a large amount of supportive properties in team battles and gimping capabilities offstage. Farore's Squall is a non-damaging attack that pushes or pulls players with a wind box. This allows you to push or pull your teammates to extend their attacking range or save them offstage. It also allows you to do the opposite to your opponents by pushing them away from the stage when they are trying to recover. The start up of Farore's Squall is a lot slower than Farore's Wind but it travels slightly farther. This custom also ignores platforms while teleporting unlike Farore's Wind. |
|
|
Squall Boosting:
Farore's Squall can be an extremely effective custom in teams by using the push effect to extend your partners range and catch opponents by surprise. You can freely use it on your partner since this is a non damaging attack. You can basically mimic DACUS for every single one of your partner's moves. |
Squall Shifting:
Farore's Squall can be used to save your partner launched offstage using the pull effect. This can be extremely handy when you are paired with a character that has a poor recovery. You can also carry or reflect some item based projectiles such as Link's Bombs with Farore's Squall. |
Squall Walling:
Farore's Squall can block attacks while pushing the opponent away. For example, Sheik's Bouncing Fish was completely negated and she was pushed away in the images above. You can also gimp opponents offstage by using the push effect to blow them away from the stage. |
|


|
|
|
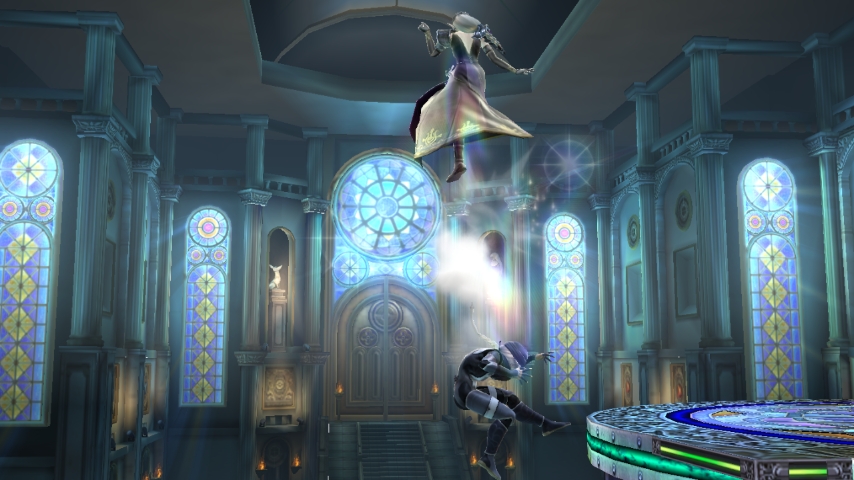
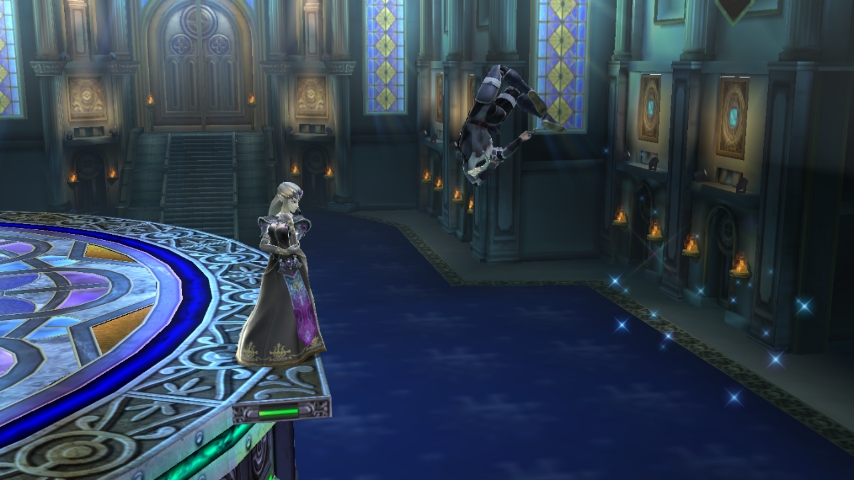
Farore's Windfall: Custom 3
Only teleports up but the second hitbox has a meteor effect. Farore's Windfall can gimp players offstage at extremely early percents unless they have a great recovery. Deals 4% damage on the first hit and 7% on the second hit. The move is pretty gimmicky and situational but very effective if you can land it offstage. Farore's Windfall has horizontal movement after the teleport unlike the default option which makes it easy to use offstage and still recover |
|
Tradeoffs:
Farore's Windfall can only teleport up which cuts off a huge amount of your movement options compared to Farore's Wind. However, anyone caught by the second hit will be meteor smashed which can gimp players at very low percents. Farore's Windfall also has horizontal movement after the teleport unlike Farore's Wind and Farore's Squall which makes it safe to use as an offstage attack. Up throw → Farore's Windfall is a true combo at high percents to kill/gimp opponents. Having a true combo out of a grab makes this move worth considering at the very least. |
Frame Data:
Farore's Windfall (startup): Frame 13-14: 4% 110b/100g (KO@ 190%) 90° Slash Max Damage: 4% Farore's Windfall (reappearance): Frame 1- 2: 7% 50b/100g (KO@ 331%) 300° Slash Max Damage: 7% Enables all ledge grabs on real frame 3 |
|
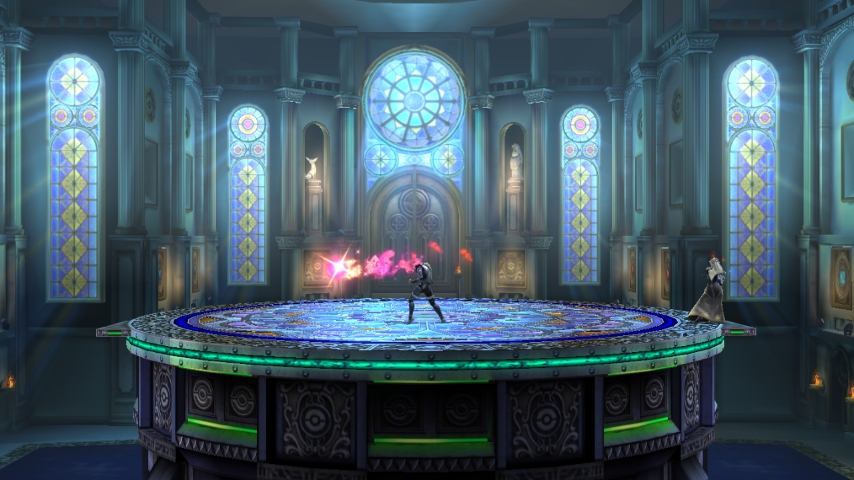
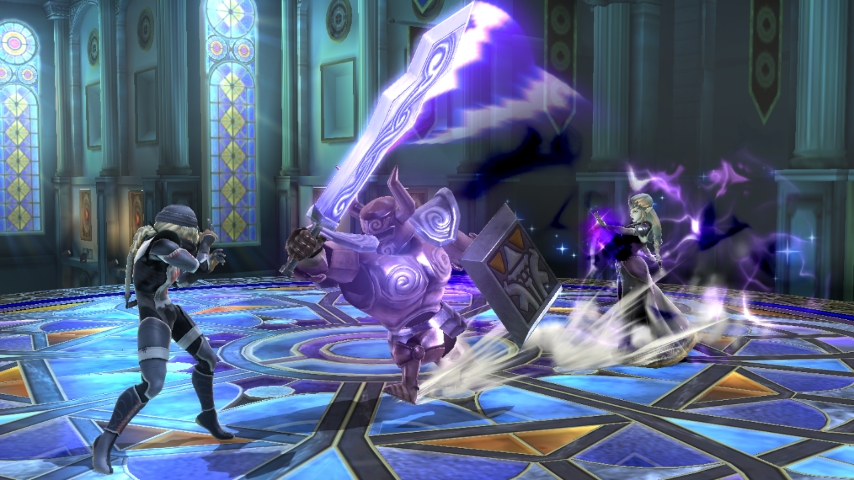
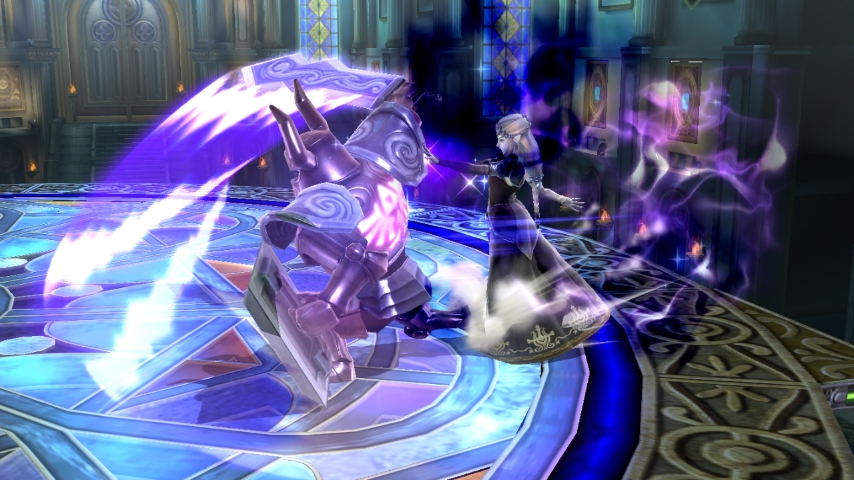
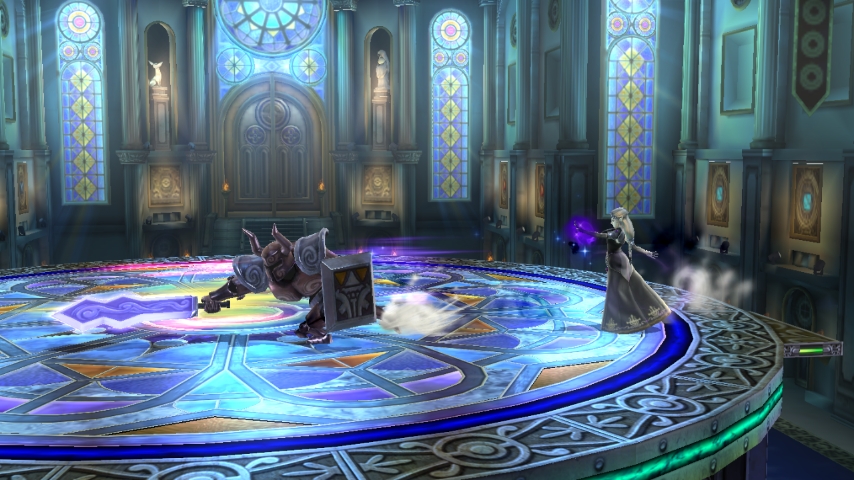
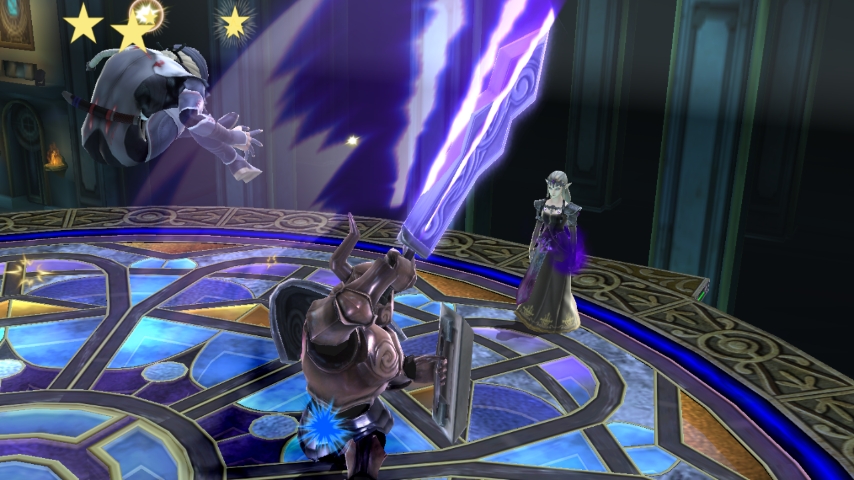
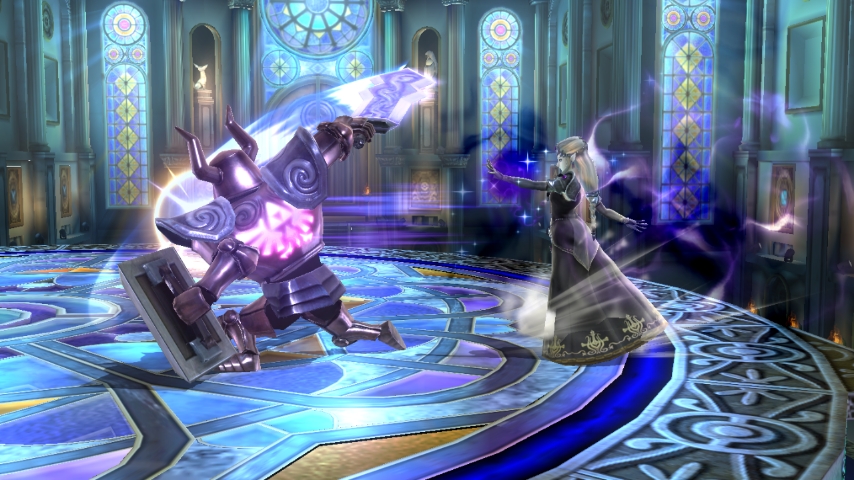
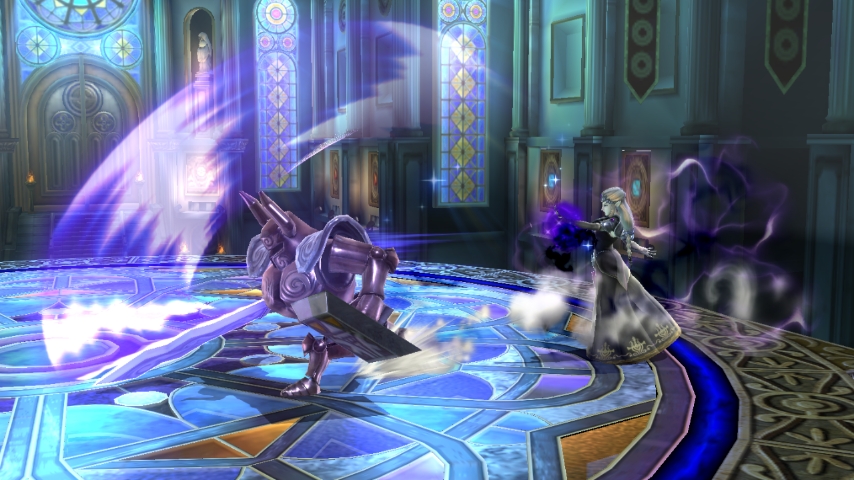
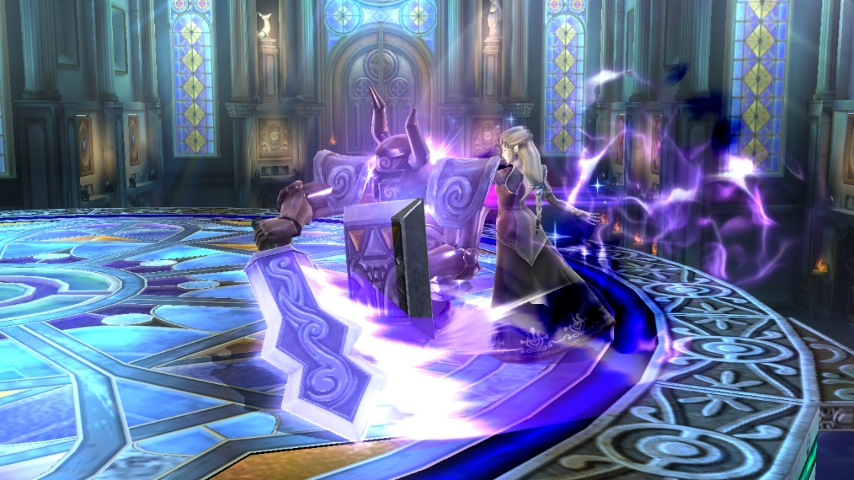
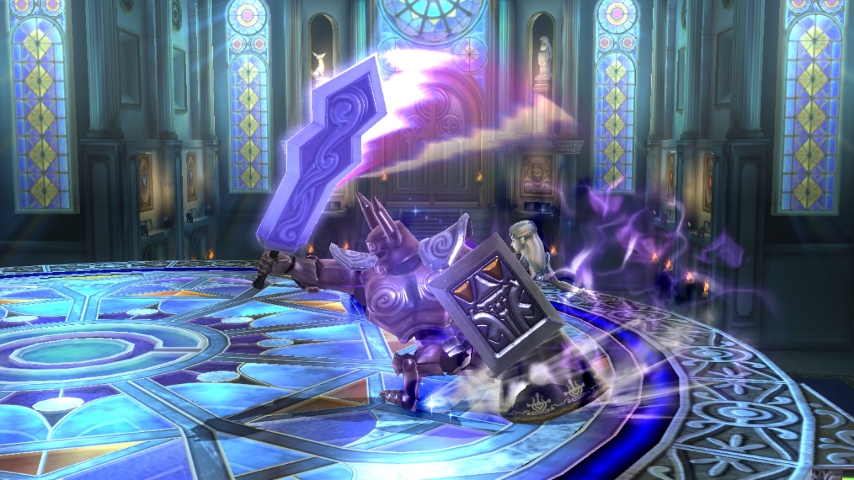
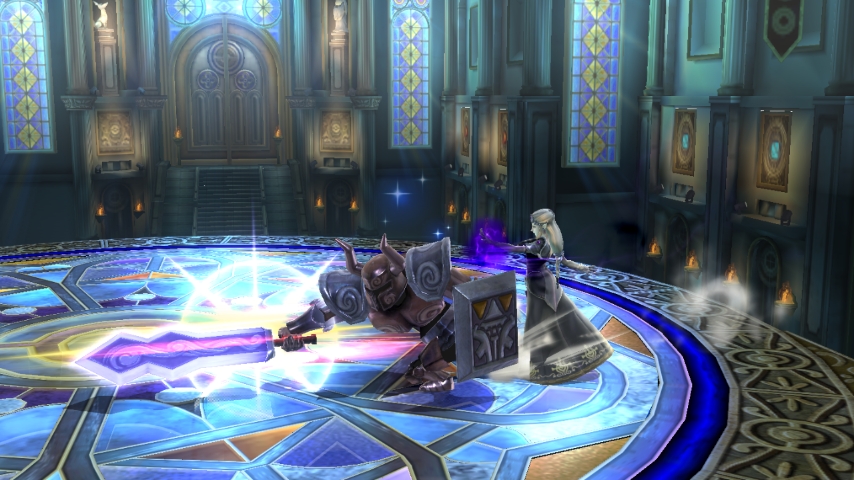
Phantom Slash: Default
Zelda charges a phantom and launches it to attack in front of her. The power and distance of Phantom Slash increases the longer it is charged (6%, 7.5%, 11.5%, 14%, 24.5%). Unfortunately the charge cannot be stored meaning this move is very predictable since you are forced to charge it each time you want to use the phantom to attack. The phantom also has a blind spot in front of Zelda that will completely pass through opponents. While this is not so great in singles it can see some great use in doubles. Now that the bad news is out of the way, this move does have a lot of different uses! Uncharged phantom can catch approaches while putting something between you and the opponent. Mid charged phantom can be used to catch aerial approaches while a fully charged phantom is great for ledge guarding. If you space it correctly the phantom can catch opponents holding onto the ledge if fully charged. B-reversing (explained below under advanced tech) a phantom is a great option to catch players off guard and also covers Zelda for a safe spacing option. Kills at high percents (90+). |
Frame Data: (damage %s are wrong)
|

|
|
|
Phantom Slash (uncharged horizontal slash):
Frame 2-10: 0% 0b/0g 0° Slash Frame 11-11: 6% 30b/100g (KO@ 259%) 361° Slash Max Damage: 6% |
Phantom Slash (charged overhead slash):
Frame 2-11: [0%]x2 100f/20w 361° Frame 2-14: 0% 0b/0g 0° Slash Frame 13-14: 8% 30b/80g (KO@ 257%) 361° Slash Max Damage: 8% |
Phantom Slash (fully charged slash):
Frame 2-23: 0% 0b/0g 0° Slash Frame 6-15: [0%]x2 100f/25w 361° Frame 18-19: 3% 90b/10g 62° 2.0-Hitlag Slash Frame 24-27: 5% 32b/100g (KO@ 323%) 50° 1.2-Hitlag Slash Max Damage: 8% |
|
Phantom Breaker: Custom 2
The phantom always goes a set distance no matter the charge and it's also capable of breaking a fresh shield when fully charged (5%,6.5%,11.5%,12.5%,20%). This is a great spacing option for Zelda since it always goes the max distance and offers a large amount of shield pressure. This is easily one of her best customs. Only kills at very high percents (150+) |
Tradeoffs:
Phantom Breaker always travels the max distance regardless of charge level. You lose your close range phantom attacks in exchange for medium ranged attacks that inflict a high amount of shield damage. Phantom Breaker offers the quickest mid range attacks since it always goes the set distance. A fully charged Phantom Breaker will break a fresh shield if it is held to block both slashes by the phantom. The max range is also slightly lower than a fully charged Phantom Slash.
Phantom Breaker always travels the max distance regardless of charge level. You lose your close range phantom attacks in exchange for medium ranged attacks that inflict a high amount of shield damage. Phantom Breaker offers the quickest mid range attacks since it always goes the set distance. A fully charged Phantom Breaker will break a fresh shield if it is held to block both slashes by the phantom. The max range is also slightly lower than a fully charged Phantom Slash.
Frame Data: (damage %s are wrong)
Phantom Breaker (uncharged horizontal slash):
Frame 2-10: 0% 0b/0g 0° Slash Frame 11-11: 5%(+10) 30b/100g (KO@ 298%) 361° Slash Max Damage: 5% |
Phantom Breaker (charged overhead slash):
Frame 2-11: [0%]x2 100f/20w 361° Frame 2-13: 0% 0b/0g 0° Slash Frame 13-13: 7%(+15) 30b/80g 361° Slash Max Damage: 7% |

Phantom Breaker (fully charged slash):
Frame 2-23: 0% 0b/0g 0° Slash Frame 6-15: [0%]x2 100f/25w 361° Frame 18-19: 2%(+10) 90b/10g 62° 2.0-Hitlag Slash Frame 24-27: 4%(+20) 32b/100g 50° 1.2-Hitlag Slash Max Damage: 6% |

|
Phantom Strike: Custom 3
Charges faster than the default and inflicts a lot of damage, but the phantom remains next to Zelda regardless of charge level. This custom is a great option to punish approaches since it charges very fast and covers the floor and air with the phantom's attack. Phantom Strike also removes the blind spot in front of Zelda that the default has. This move loses the ability to kill but it deals 28% on full charge if both hits connect. (Phantom Strike only kills at 900%+) Tradeoffs: Phantom Strike remains in front of Zelda regardless of charge level. You lose your long ranged phantom attacks in exchange for powerful close ranged attacks. Phantom Strike fully charges in 1 second and offers a great anti-approach option. This custom also sacrifices the kill potential from Phantom Slash in exchange for an increase of damage. |
Frame Data: (damage %s are wrong)
Phantom Strike (uncharged horizontal slash): Frame 2-10: 0% 0b/0g 0° Slash
Frame 11-11: 8% 100f/90w 0° Slash Max Damage: 8% |
Phantom Strike (charged overhead slash):
Frame 2-11: [0%]x2 100f/40w 361° Frame 2-13: 0% 0b/0g 0° Slash Frame 13-13: 10% 80f/120w 20° Slash Max Damage: 10% |
Phantom Strike (fully charged slash):
Frame 2-17: 0% 0b/0g 0° Slash Frame 6-15: [0%]x2 100f/60w 361° Frame 18-19: 5% 90b/10g 80° 2.0-Hitlag Slash Frame 24-27: 7% 100f/130w 30° 1.2-Hitlag Slash Max Damage: 12% |
